Simple Gold Eye Makeup Tutorial
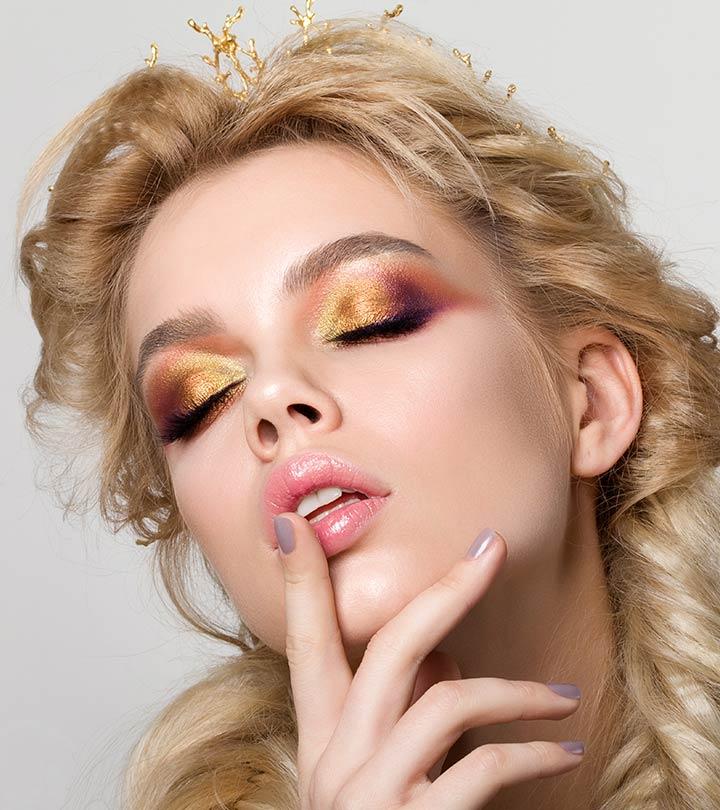
Gold. A color of the royals. Whether on the crown of Athena’s forehead, the neck of Saraswati or the wrist of Cleopatra, gold is a color bold enough to make a statement. Incorporate this gorgeous color in your eye makeup and it will surely make your eyes pop. Depending on the intensity of the gold, it can be dressed up or dressed down. It is the ultimate go-to look if you want to stand out at a party. There are a multitude of shades of gold to choose from.
Without further ado, I present to you one of the simplest golden makeup tutorials that you can try and transform your look.
Simple Gold Eye Makeup Tutorial
Required Products
How To Apply Gold Eye Makeup Perfectly?
Step 1: Prime Your Eyelids
Prime your eyelids so that they are smooth. This step is extremely vital, as it helps the makeup to last for a long time and prevents it from creasing.
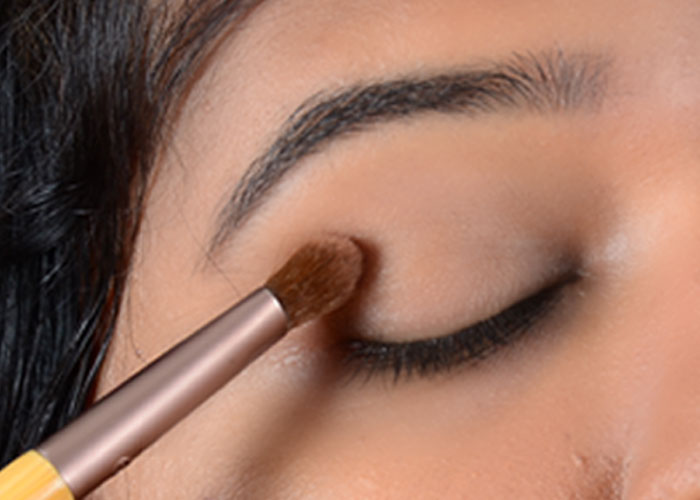
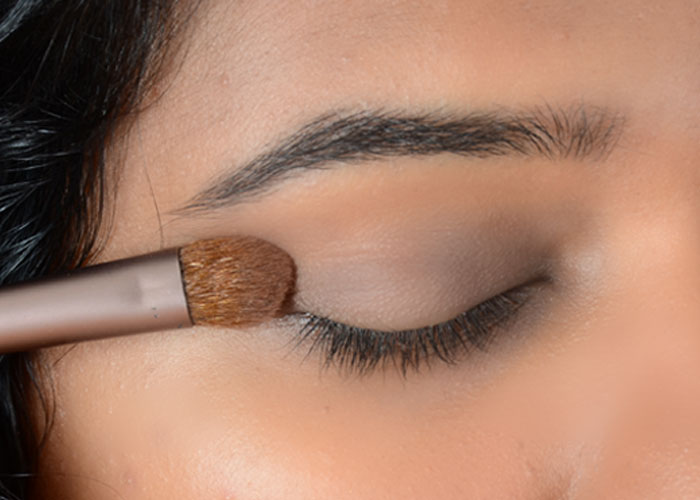
Step 2: Apply Base Shade
Apply the base shade all over the lid, and a little above the eyelids as well. This works as a transition shade so that there are no harsh lines between the gold and the skin.
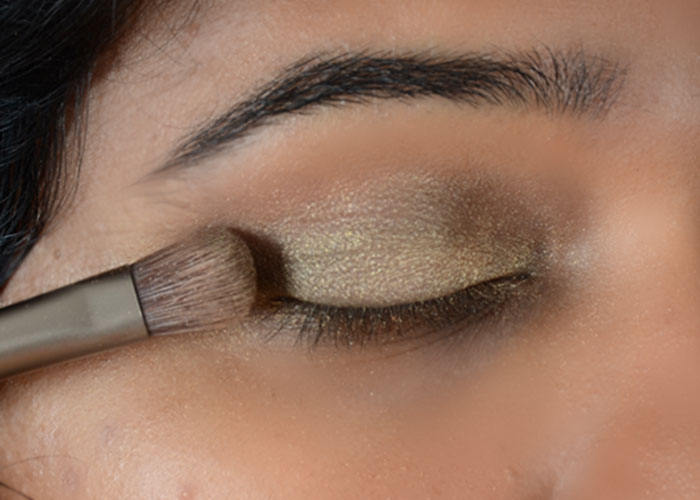
Step 3: Pack On The Eyeshadow
This is where the main star of the show comes in – gold eyeshadow! Pack on the eyeshadow on the inside and center of the eyelid and blend it out near the crease.
Step 4: Add Dark Brown Shade
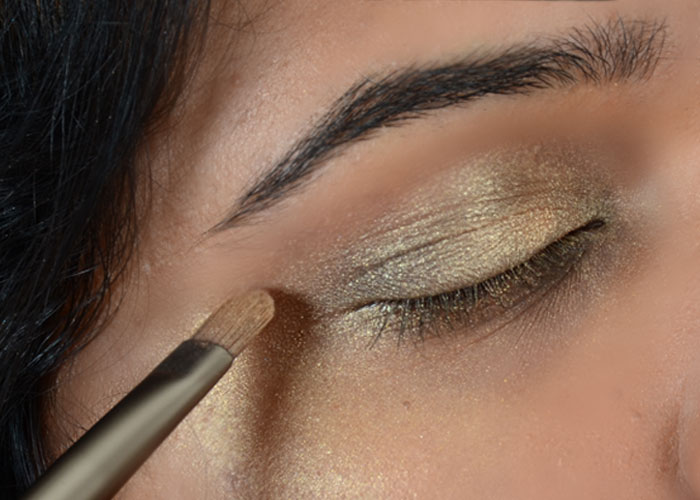
Add a dark brown shade to the outer corner and blend it away into the crease.
Pack more of the gold eyeshadow on the center of the eyelid if you feel that there isn’t enough color. Apply some of the gold eyeshadow on the bottom lashline as well.
[ Read: How To Apply Eyeshadow Perfectly? ]
Step 5: Conceal the Heavy Fallout Areas
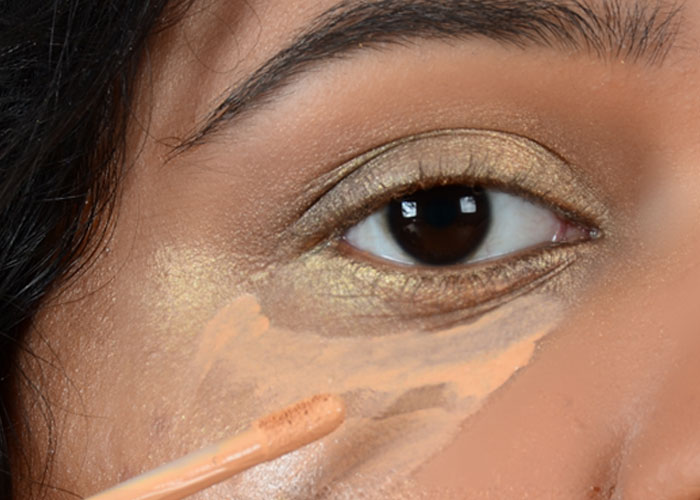
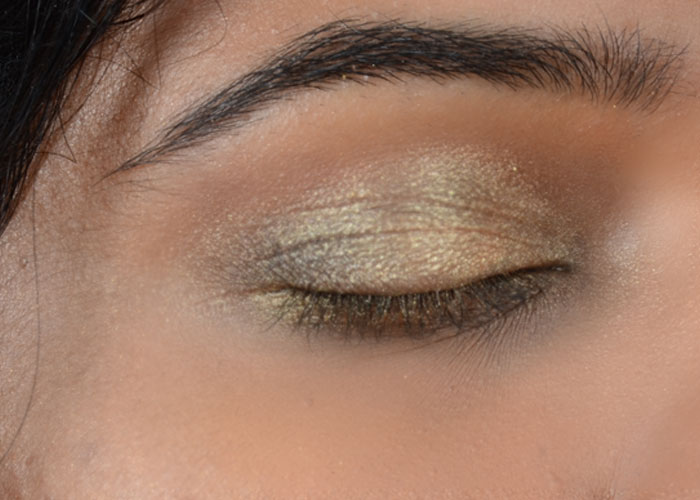
At this point, you probably have a lot of fallout from the eyeshadow. Fear not, this problem can easily be rectified with the help of a little bit of concealer. Conceal the areas where you think there is heavy fallout and blend it out.
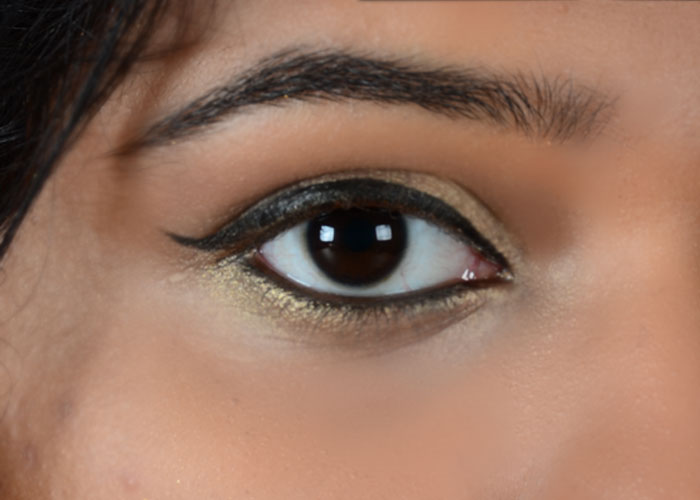
Here’s what it should look like:
Step 6: Create Winged Eyeliner
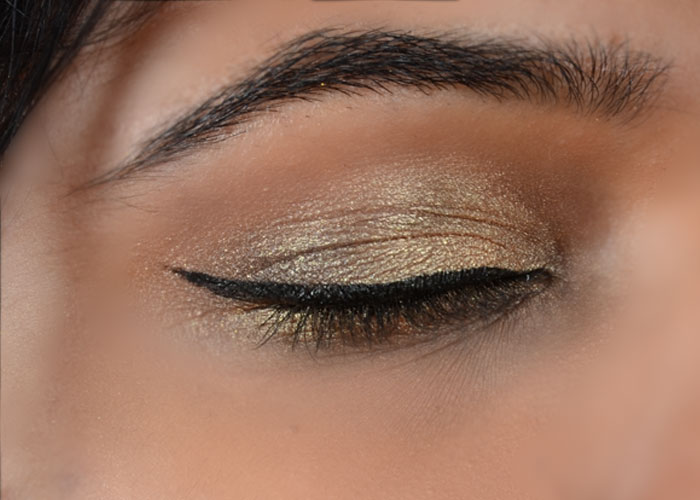
Use a black liquid or gel liner to create a winged line. You can extend the wing or keep it simple. It depends on whether you are going for a more dramatic look or a sober one.
Step 7: Create An Intense Look With Kajal
Apply kohl or kajal on your upper and lower water lines to create an intense look. Smudge out the bottom lashline a little bit to soften the look.
[ Read: How To Apply Kajal Perfectly? ]
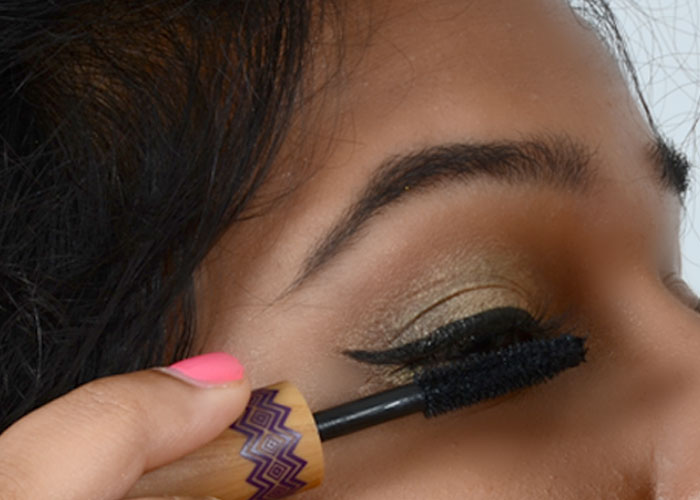
Step 8: Add Mascara To Eyelashes
Finish off the look by adding mascara to your eyelashes.
This is what it should look like after the application:
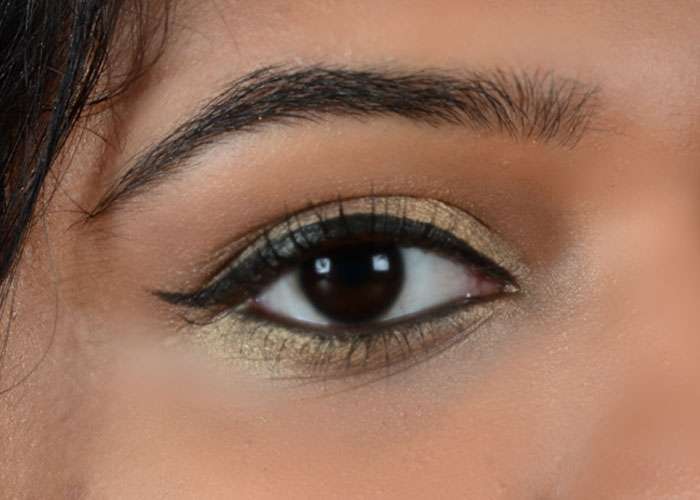
Step 9: Gold Eye Makeup – Final Look
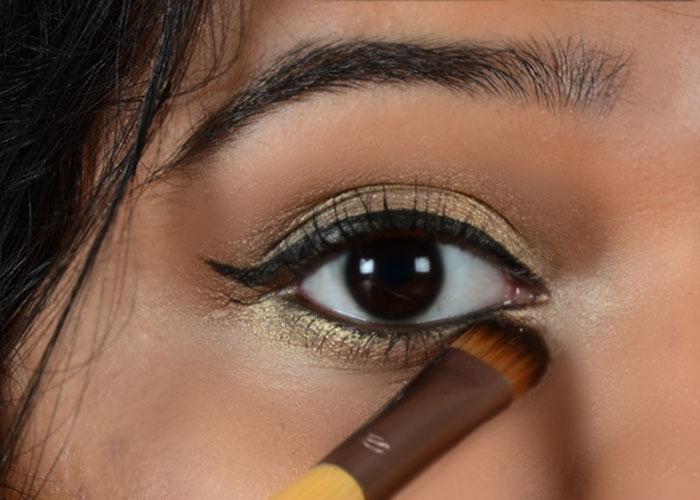
Step 10: Brighten Your Eyes With Shimmer (Optional)
This is optional, but I always like adding a little shimmer to the inner corner of my eyes in order to brighten them up.
There you have it, golden eye makeup! Like I said, this look can be modified to suit individual needs. In case you want a bolder look, go for a brighter pigment. If you prefer to keep it a bit subtle, like I did, you can just leave it as it is. Do try it out and let us know how it turned out in the comments box below.



0 Commentaires